

Another week brings another update on the rebuild. Unfortunately for this edition, it’s another case of not as much progress as hoped for. But as I always say any progress is progress and importantly, things are still moving forward. This entry isn’t tracking the progress of a specific few hours, but rather the whole week where I was able to set aside some time each night for some part cleaning.
First up was getting this now infamous cylinder head apart, and wouldn’t you know it, as I’m writing this it remains assembled. The purchase of a more reputable spring remover tool gave me the confidence I’d finally be able to get the job done. Despite being advertised as a tool that can work with the head off the block, I quickly found this was not the case, and compressing the spring only lowered the valves instead of letting the top of the spring be accessed for removal.

With cleaning the head out of the equation, I decided to focus on cleaning the remainder of the parts in the old concentrate. By this stage, the mixture was quite contaminated, and even without the head or block initially cleaned, I decided that I’ll use a fresh mixture for them. As well as being counterproductive to the clean, the water pump on the parts cleaner is beginning to struggle with such dirty water.
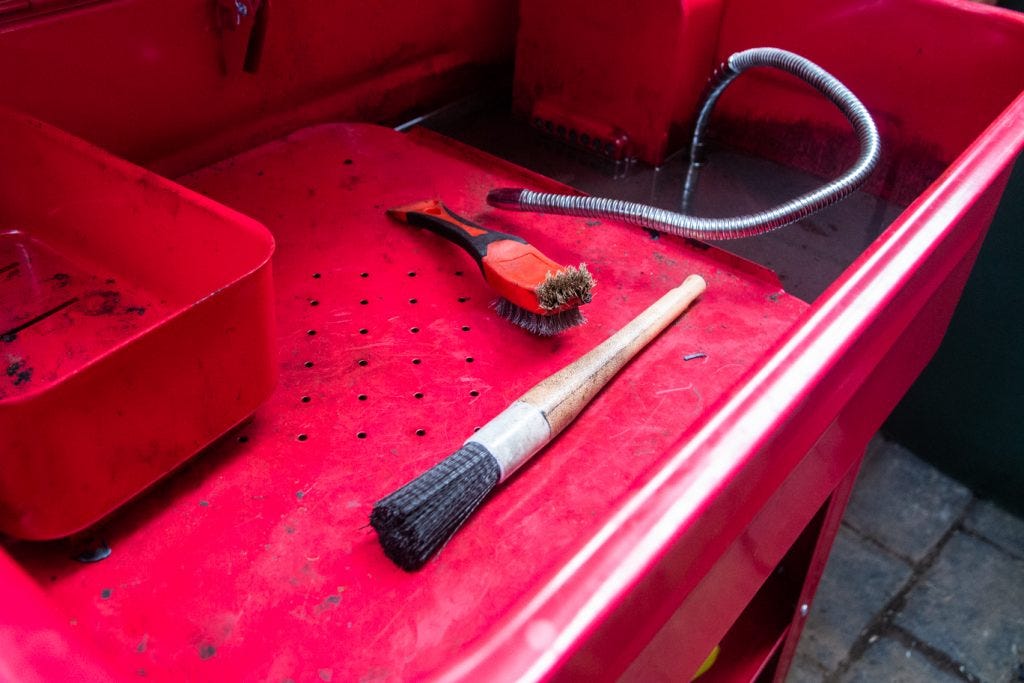
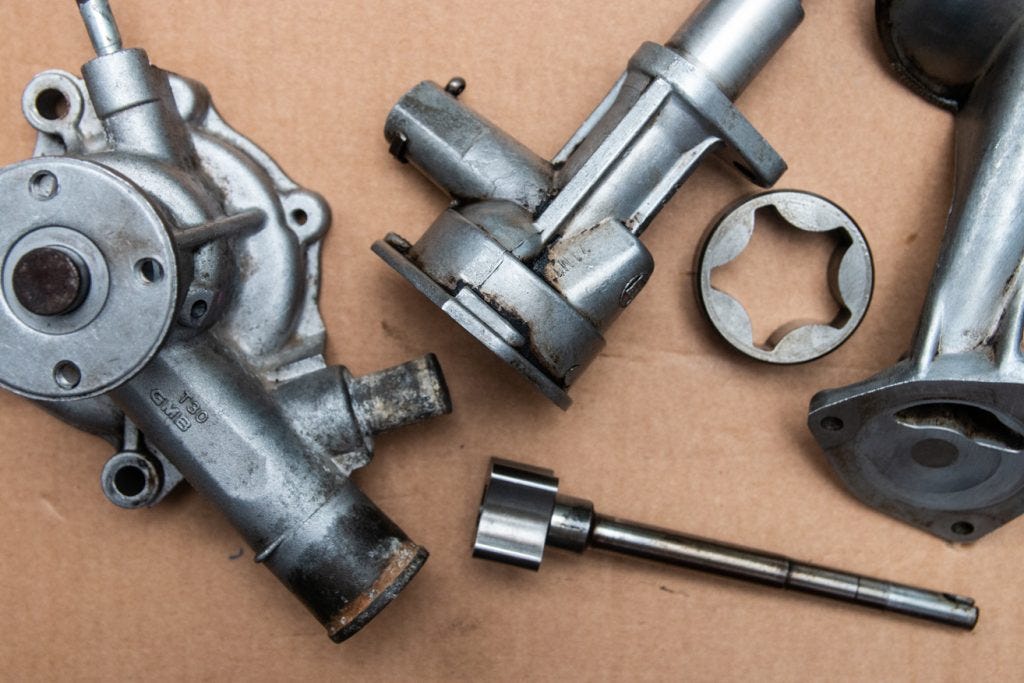
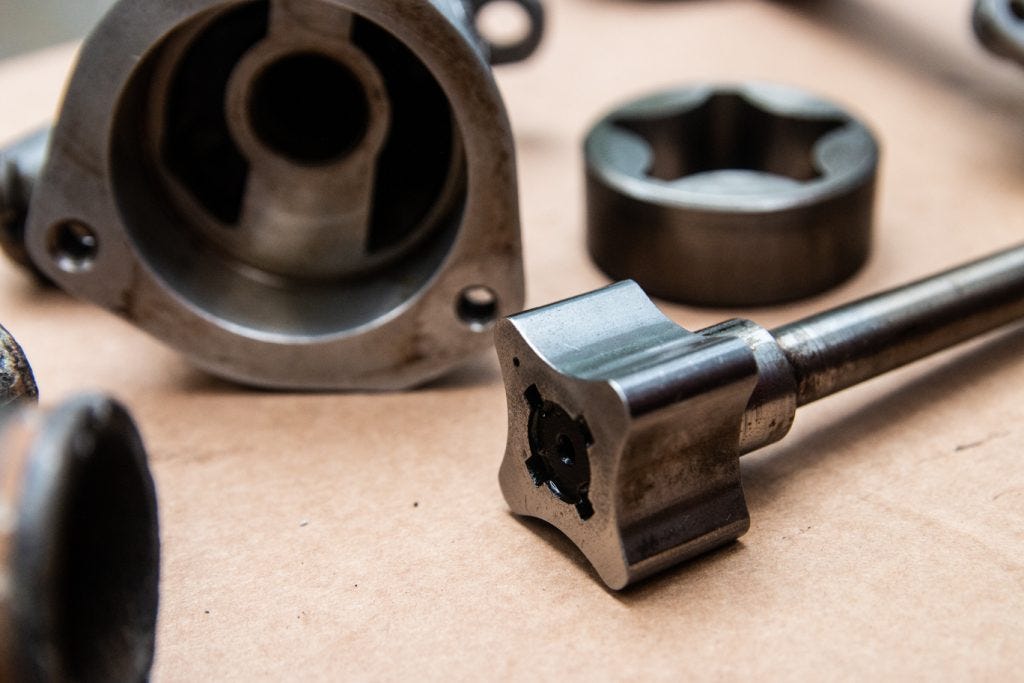
Looking at the water pump and disassembled oil pump, you can see the effectiveness of the current cleaning process. The surface of the metals is almost as clean as can be, with grime and residue only really left in the cracks and hard to reach places.
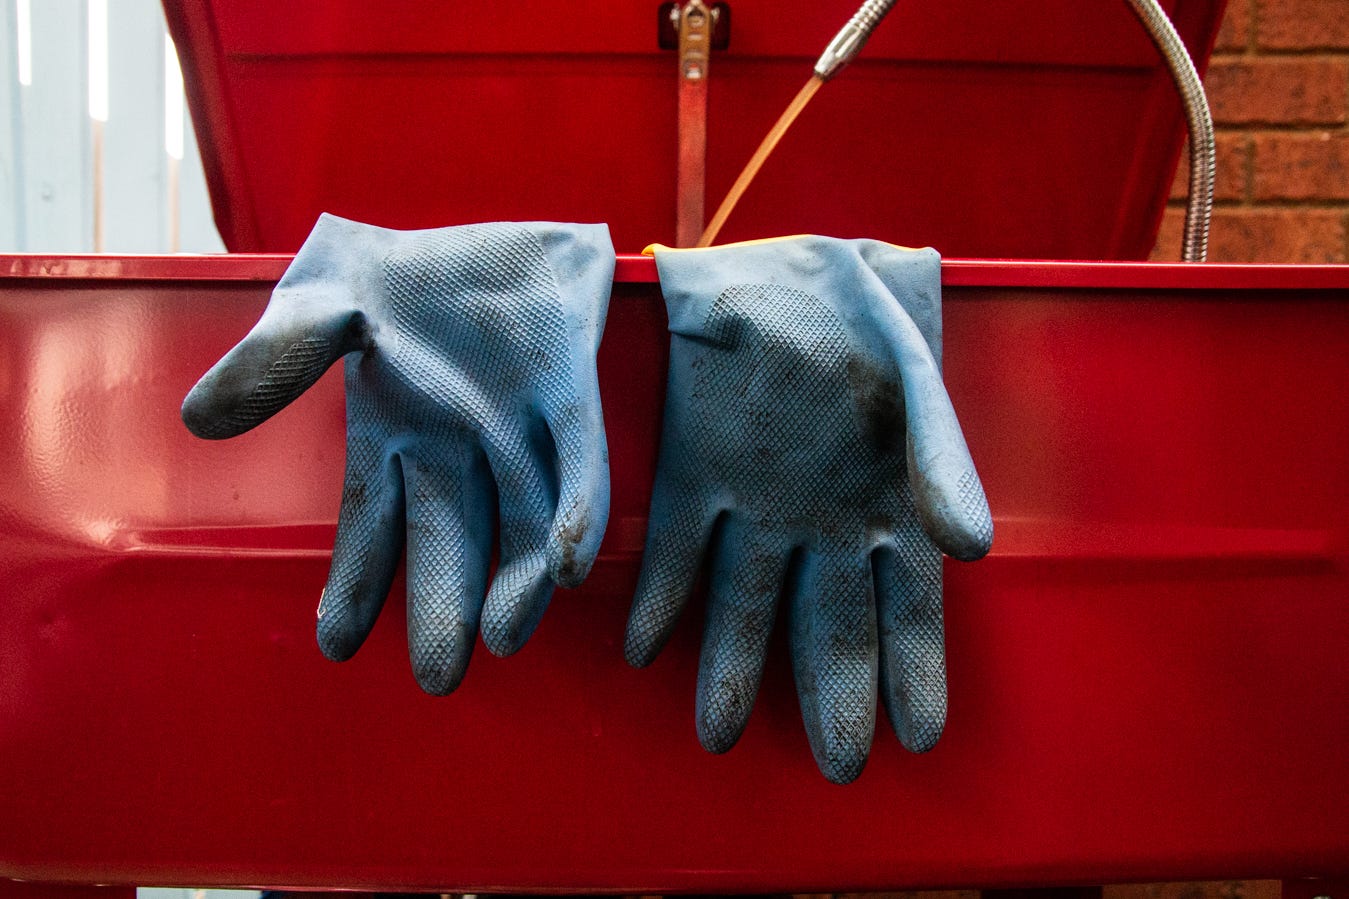
It’s important to note that for external parts such as the aforementioned, a wire brush can be used on the surface of the metal, whereas internal parts and anything that is not cast iron such as bearings, pistons, rods etc cannot be cleaned with a wire brush but instead only a soft brush. In other words, cleaning these internal parts will be most effective with a stronger cleaning concentrate.
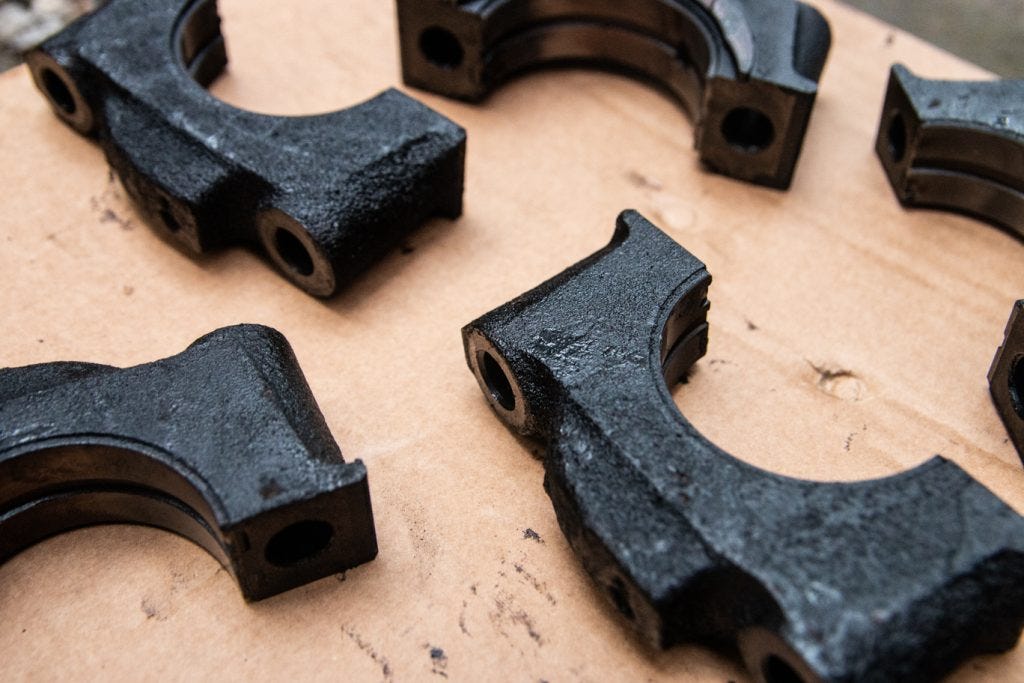
The connecting rods, being constructed from cast iron meant they were able to be given a good scrub with the wire brush (with care not to make contact with the bearings on their underside). However even after a good scrub there was still a lot of residue left on them, so again hopefully a stronger and less contaminated solution will do the job.
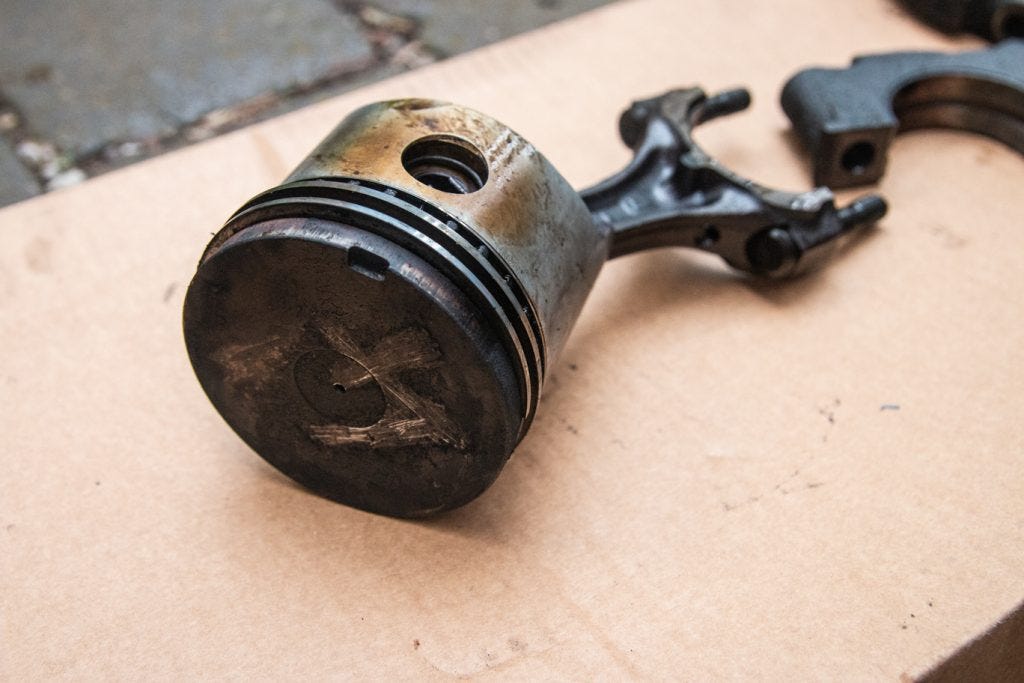
Cleaning the pistons was next on the list. I decided to leave them connected to the rods and just give them a decent clean. I’m still unsure if the pistons will be in suitable enough condition to be reused, so the aim was to get them in well enough shape so an engine shop can assess what the best plan of attack will be. As you can see there’s a fair amount of carbon build-up on the top of the pistons however that’s nothing out of the ordinary.
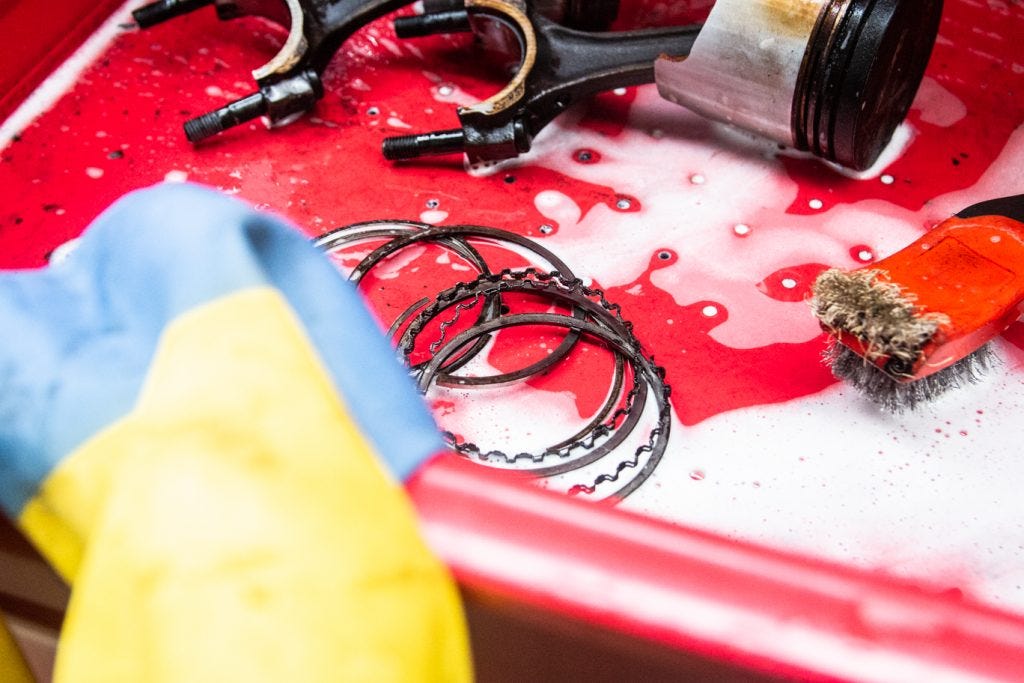
The piston rings were removed however as these will need to be replaced regardless. I’m hopeful that I’ll be able to reuse these pistons as they don’t appear to have too much wear, and a set of new rings are relatively inexpensive and correct procedure when an engine is rebuilt as well.
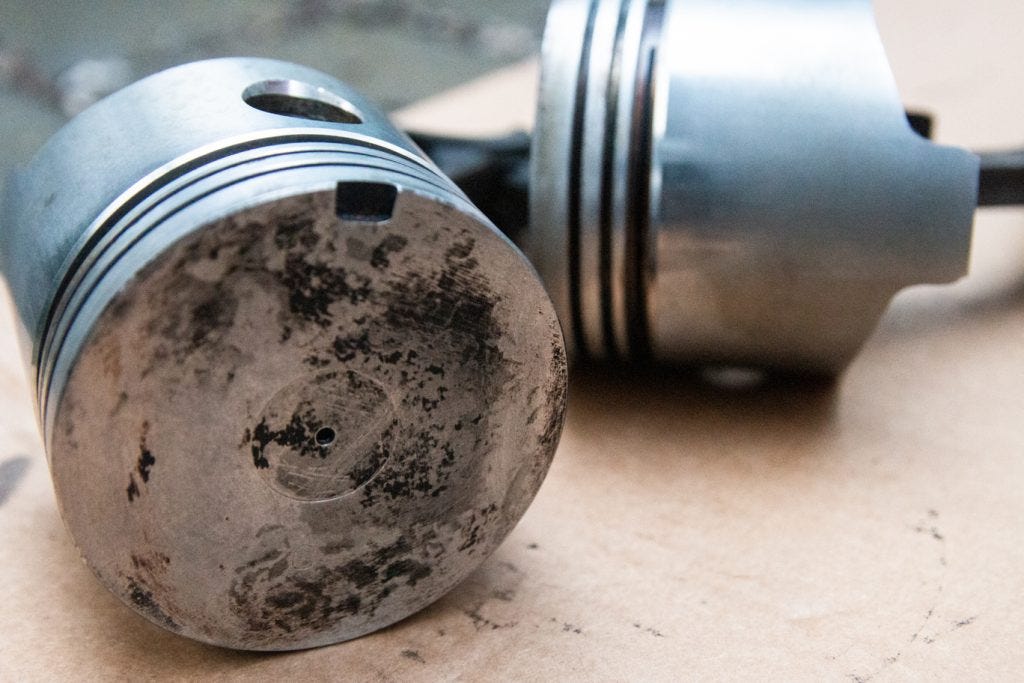
It was hard work to get the pistons clean. The build-up of carbon proved tough to remove and as can be seen, it was impossible to remove 100% of it. Being limited to a soft engine brush didn’t help my case, nor did the mixture which became almost too contaminated to continue using. I was able to get them clean enough however that an engine shop can assess them, and my fingers are crossed they will be able to be used once more. This will of course mean a better clean in the new concentrate.
As I previously said, it can start to feel like progress is slowing but it’s important to remember it is still there in some regard. Another few rounds of cleaning and I can assess what’s needed in terms of purchasing new parts. Then the real fun will begin.