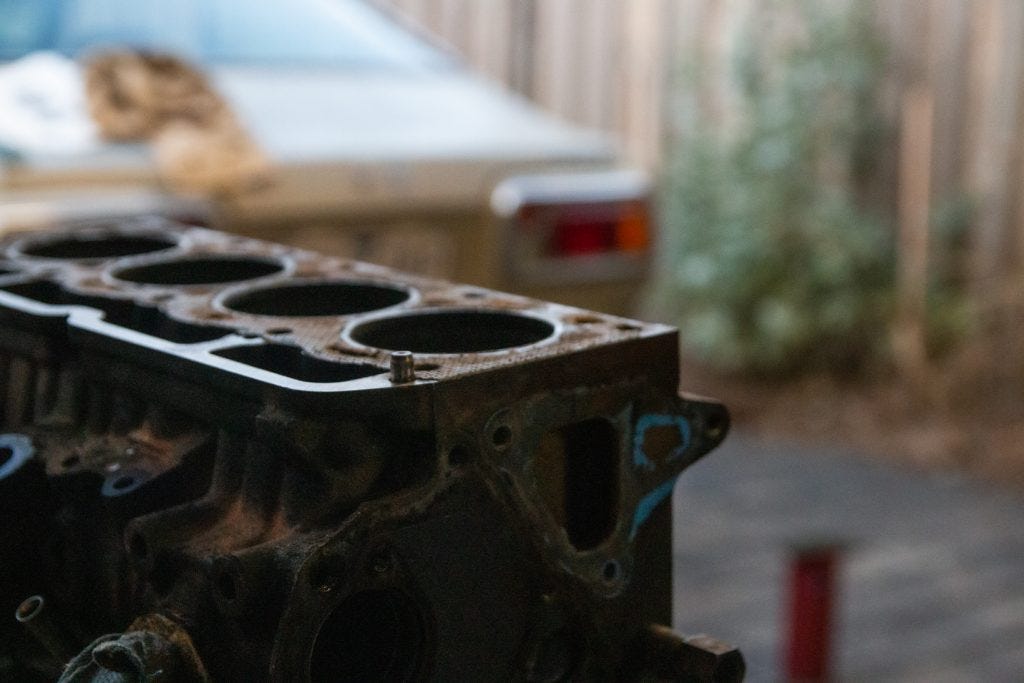
As another weekend rolled around it was time to once again get my hands dirty and begin the next step in the journey of dismantling my KE55’s 1.3 litre engine. Those who have read part one will know that I plan on taking the engine completely apart before cleaning each piece and reassembling with a few new parts thrown in the mix. Before I reach that stage though, I needed to continue dismantling the engine. Someone more experienced in engine building could easily have one of these apart in a few hours, but seeing as I’m fresh to the game and have limited tools on hand, it was important to take my time and do things properly.
Step 1 was easy enough. I removed any remaining mounts still left on the block as well as the distributor, which came out without any worries. Next I took the lifters out from the top of the block, which required a bit of persuasion, but soon came out easy enough. Being an overhead valve engine and not an overhead cam engine, lifters are used to transfer the movement of the camshaft below up into the valves.
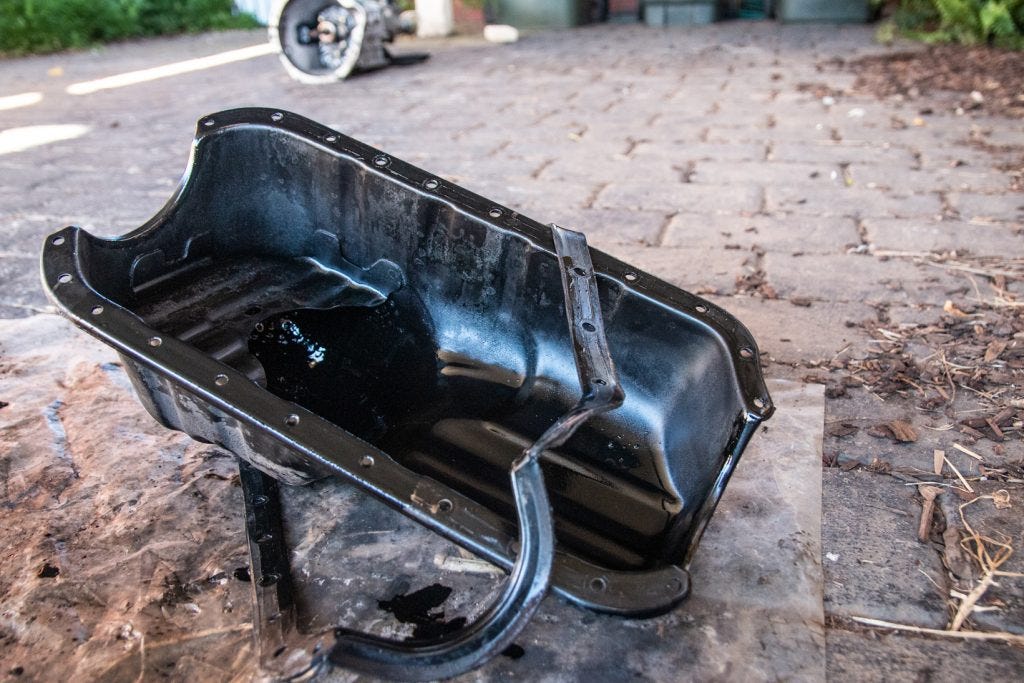
Next, it was time to drop the sump from the bottom of the block. Most of the oil had already been drained through the plug and the sump came off without making a mess, much to my relief. So far so good, and I was starting to think I was in for an easy and issue-free afternoon…
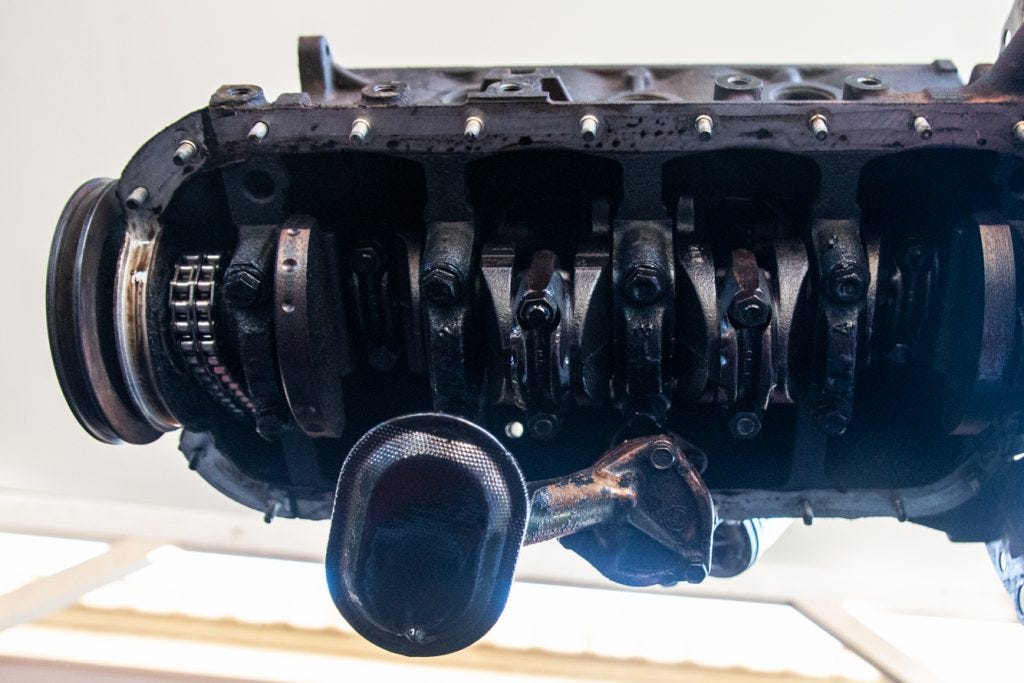
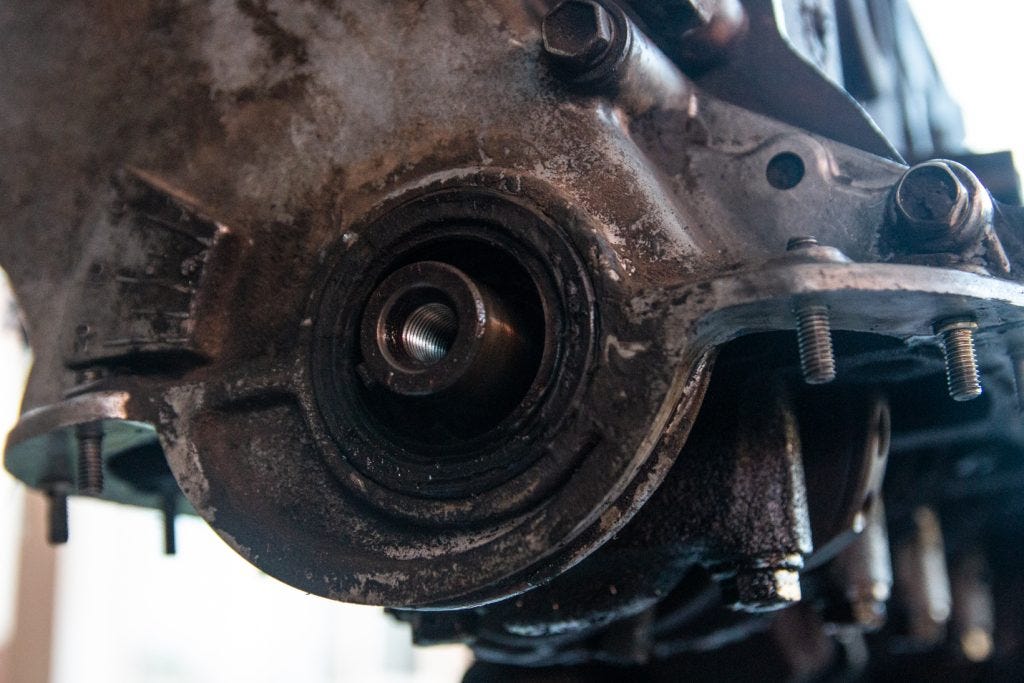
“Famous last words” as my father would always say, and my hopes of not finding any hitches were dashed as the crankshaft pulley remained firmly stuck. The crank bolt was able to be removed after I used a spanner and a bolt screwed into the flywheel to wedge against the engine stand and trap my crank from rotating. However the pulley itself was firmly wedged onto the crank itself and wasn’t coming off without a fight.
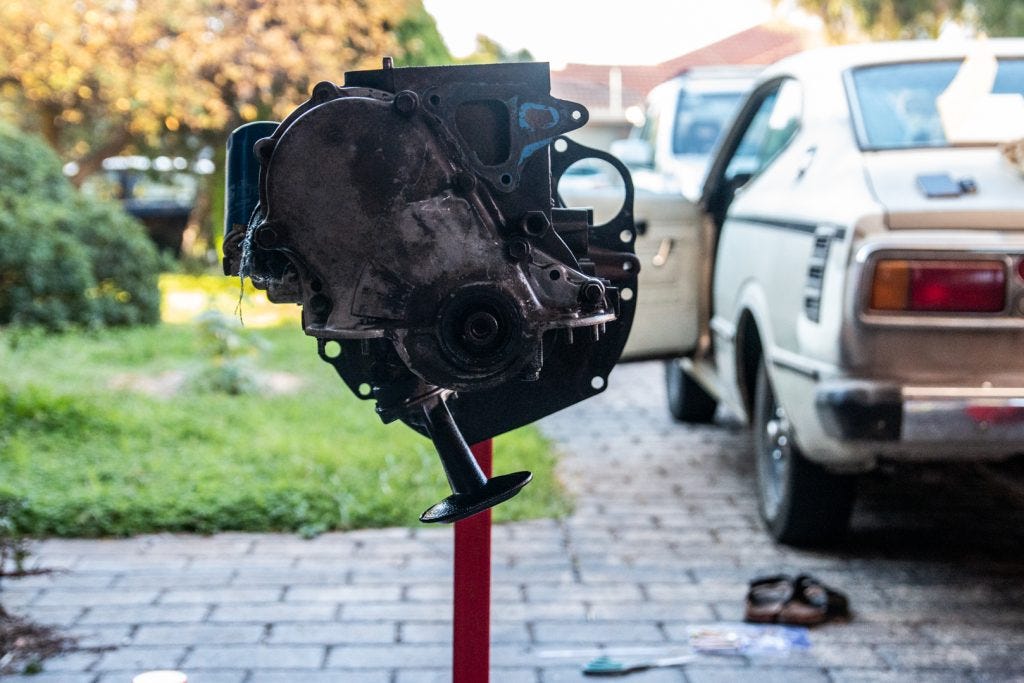
After using a mallet and some spanners to try and force the pulley off with little luck, I finally bit the bullet and headed to the local auto parts store to purchase a pulley-remover tool. While none of the bolts included fit my block, I was luckily able to use some of the bolts I had removed from my engine and the device finally got the pulley off. With this off, I was able to open up the timing case and begin taking it apart.

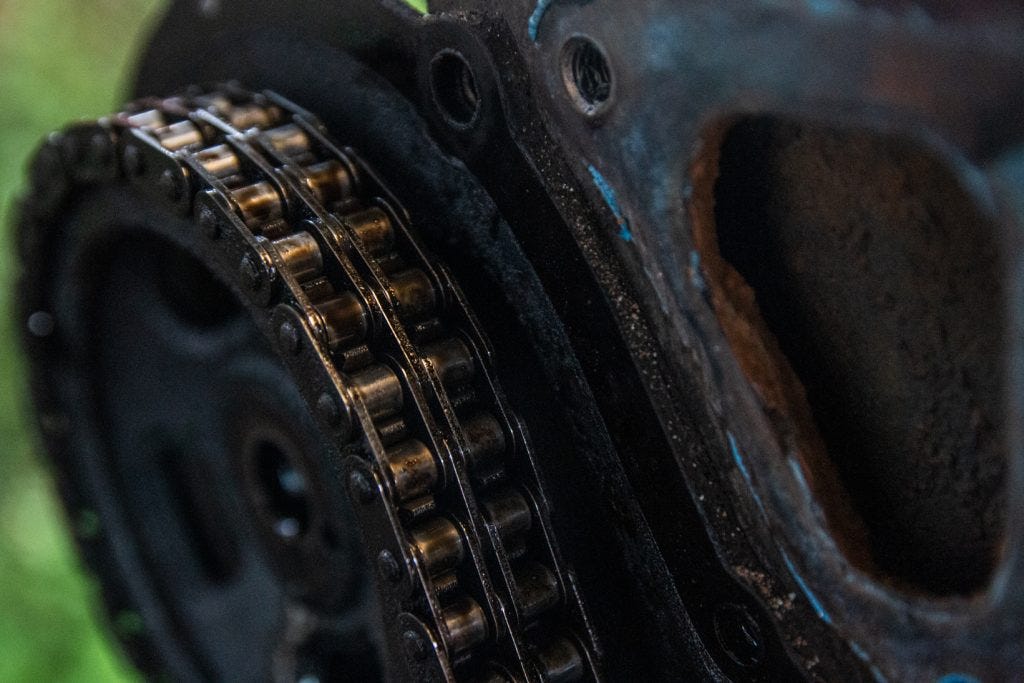
The chain tensioners were easy to remove, however both the timing chain pulley and crank sprocket showed similar stubbornness to the crank pulley. Neither of these could be used with the remover tool I had just purchased, however with a bit of effort the rubber mallet and spanner/screwdriver strategy was successful here. Essentially the spanner or screwdriver provided leverage on one side of the pulley and hitting it enough times with the mallet created some separation.
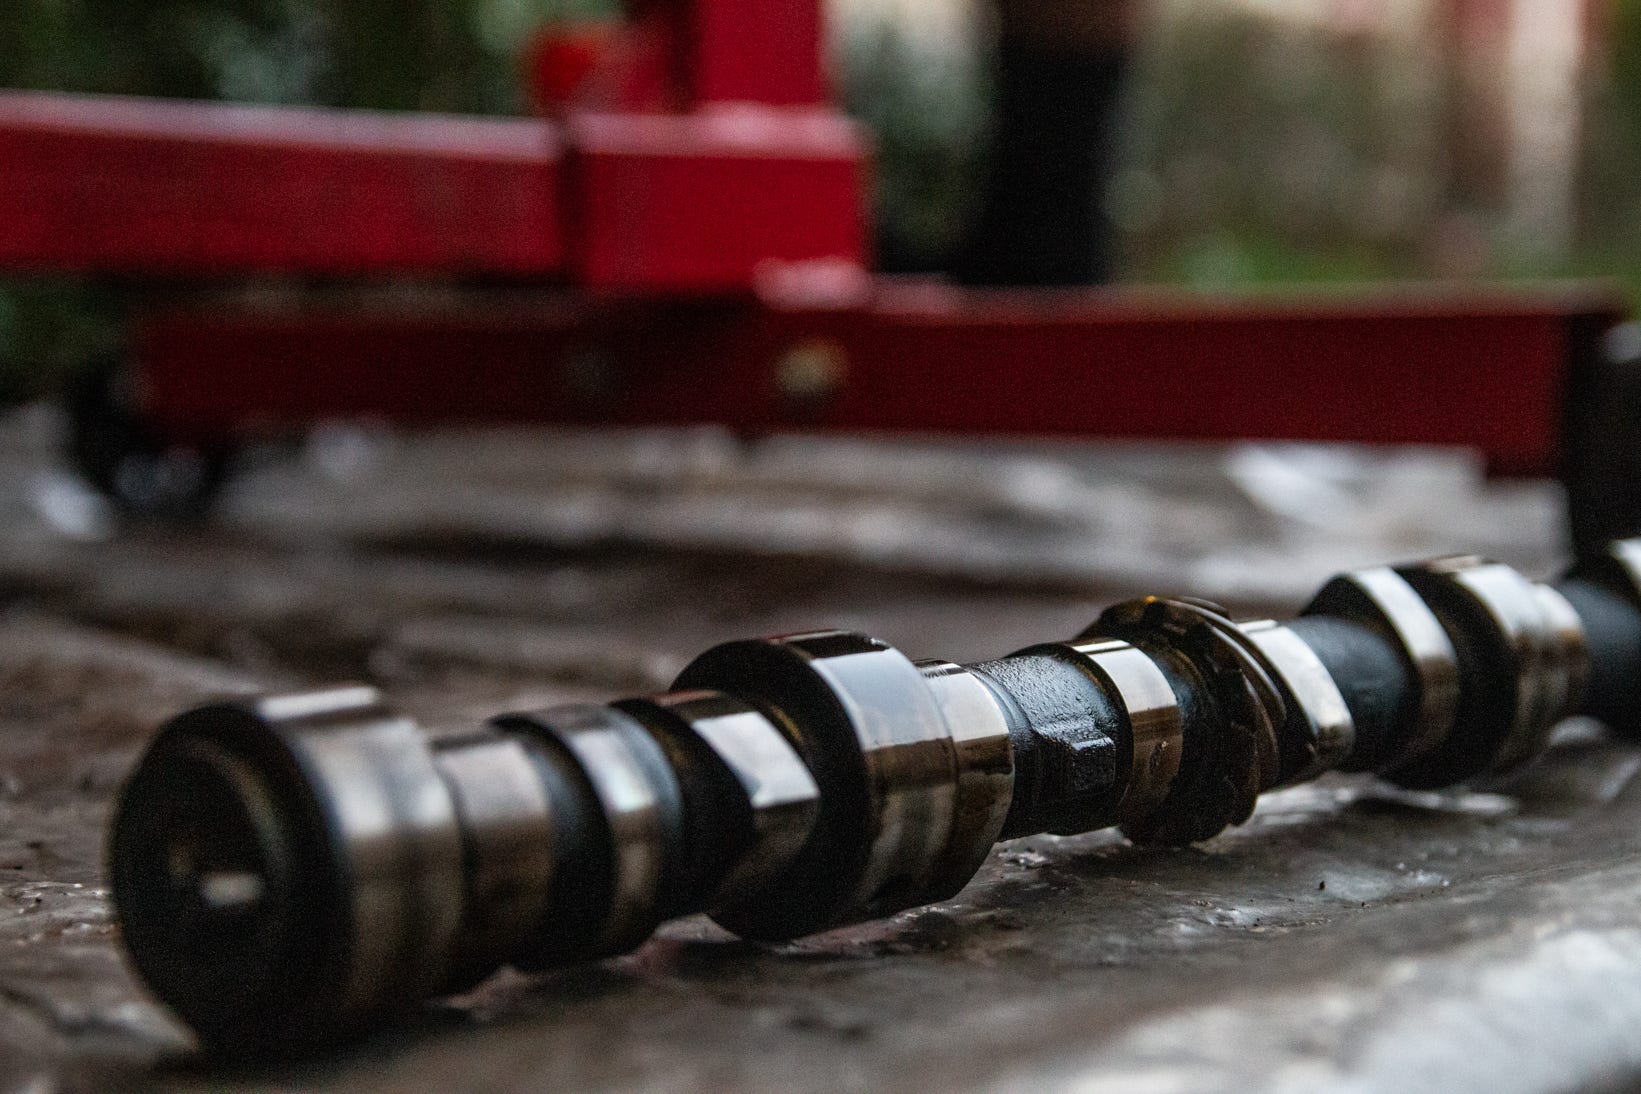
Removing the cam from the engine was the next step and a surprisingly simple one. After removing the timing chain it slid straight out however care still had to be taken in order to keep its bearings intact. Replacing the cam is one of the modifications I have planned for the engine. A new or reground cam is a good idea when rebuilding any OHV engine. As the camshaft is driven off the timing chain, a loss of chain tension over significant time will lead to the timing of the cam being affected. As the camshaft dictates when the valves open and close, timing is extremely important. If it is thrown slightly off, compression and torque will be impacted. Because I have a number of performance modifications planned for the engine such as twin carbs, extractors and a 5-speed manual swap, a new camshaft designed for these changes is essential.
Finally, the oil filter and oil pump were removed from the bottom of the block. While only being held in the engine by a few bolts, 40 years of hardened grease, oil and other gunk made these hard work to remove. Turning the pump a few degrees back and forth while pulling upwards was eventually enough to get it away from the block. I can’t forget the help I had from some trusty WD-40 either.
Unfortunately, this is the most I was able to achieve for the day. With the engine on a stand, I was not able to remove the rear oil seal or input shaft bearing, which in turn means the crankshaft and pistons could not be removed. With the help of a friend or two in the coming week, getting the engine onto the ground and allowing access to the rear of the engine will mean I can hopefully finally get each piece apart. With some luck, I will also be able to begin cleaning each piece and planning for re-assembly. Until next time…